The basics of outside-in square shaped circular knitting
plus a few tidbits for the ever-curious knitter …

center area begun
Once you’ve got the relatively time-consuming edging completed for Tea-time Serviette, you can zoom along for the remainder of the project.
There’s nothing particularly tricky with the knitting going forward. But since this is the first outside-inside circularly-knitted square design for some of our members, I do have photos and comments about the process to share. Even if you’ve knit this type of project before, maybe something here will trigger an idea you find interesting or helpful.
Making a Square in 4 Triangular Sections

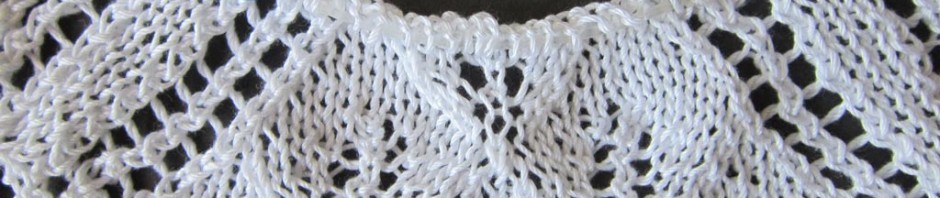
closeup of center area begun
To begin, the knitting looks more like a circle than a square. Then, as the work proceeds, you might be intrigued to realize you actually are knitting triangles to make the square.

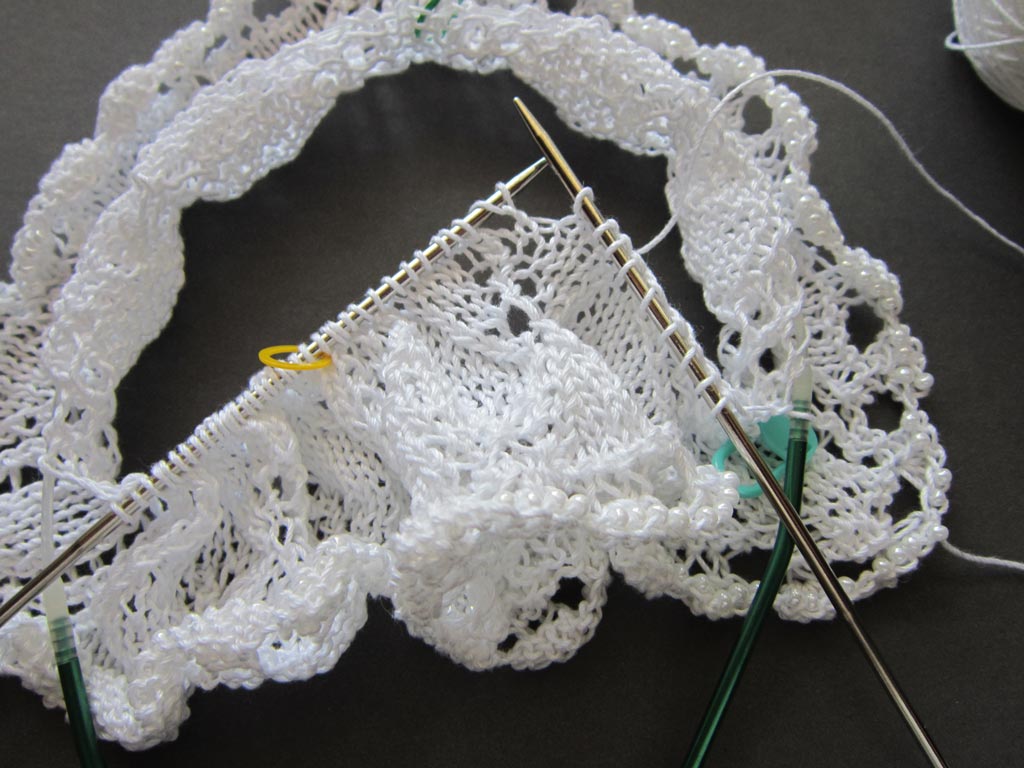
center area in progress showing a triangular section between stitch markers
The stitch pattern multiple is repeated 4 times in each round. Each repeat of the stitch pattern corresponds to one of the 4 triangular sections making up a side of the square.
Use stitch markers or similar to define the beginning and end of each section. Being able to identify the beginning/end of round is especially important, so I like to use a different color marker for that (I usually use red to make it as obvious as possible, lol). Another trick is to use the cast on yarn tail to mark the end of round (just be careful not to get mixed up and start knitting with it, though!).
Rate of Decrease for a Circularly-knitted Square
The rate of decrease for a square is the same as for making a circle, except that the decreases are concentrated at the corners to shape the square.

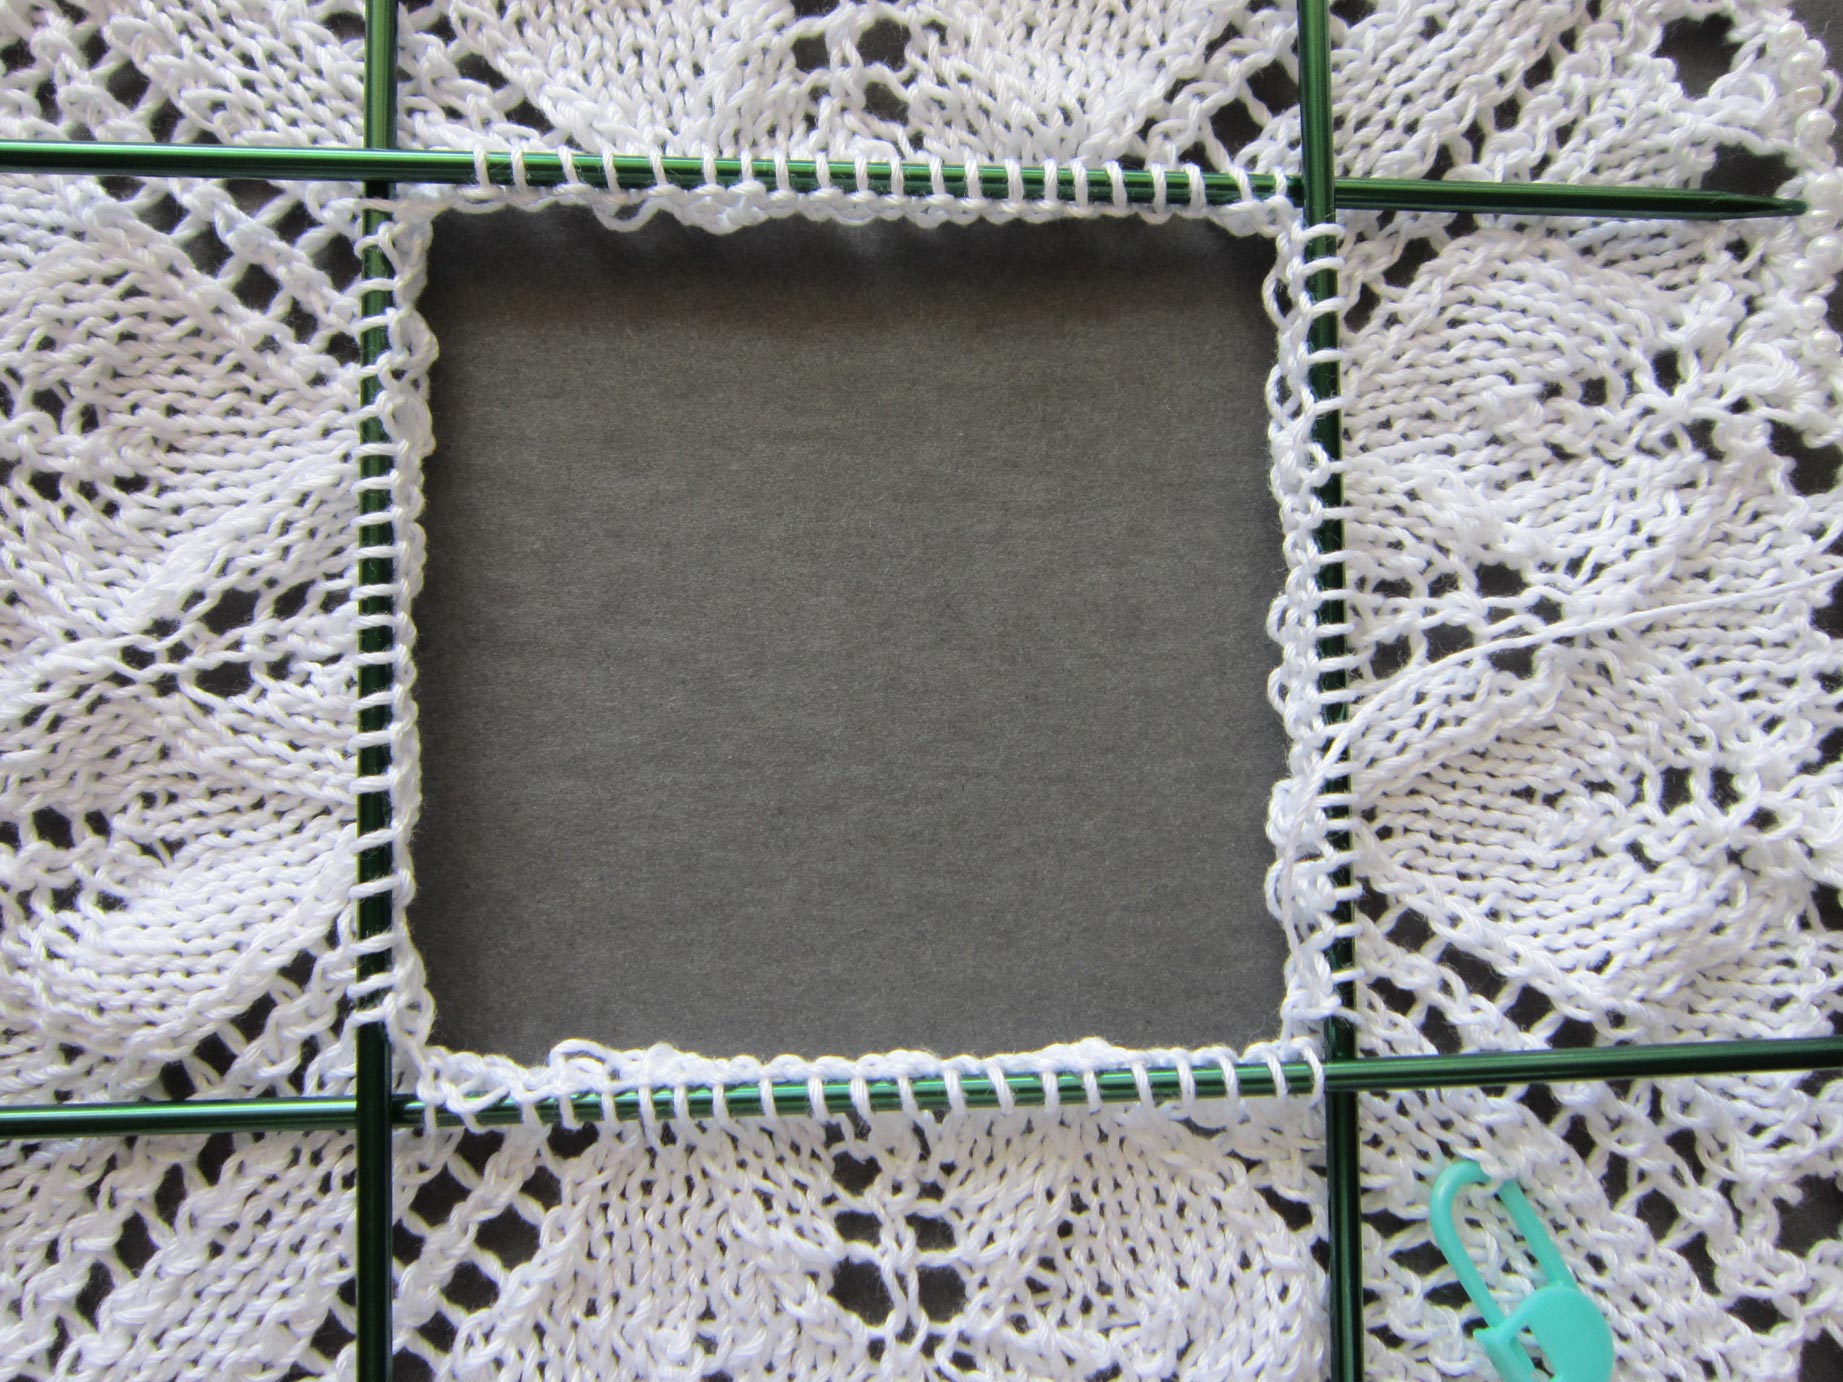
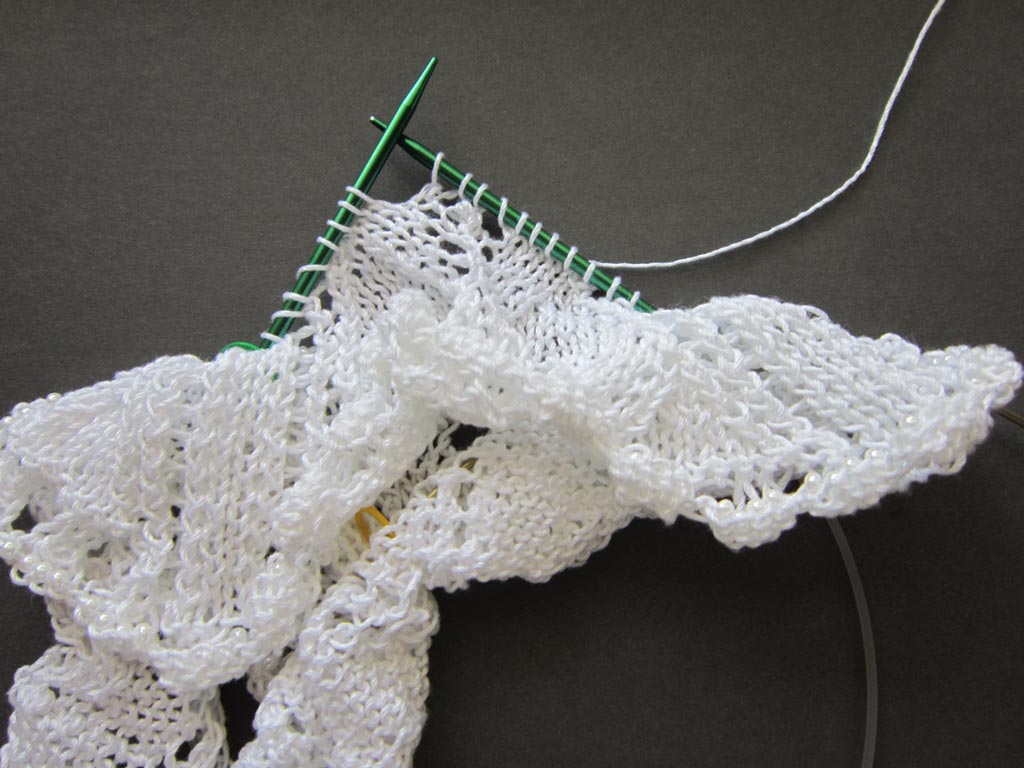
square shape becomes more evident; change to shorter circular needle when too few stitches for a longer needle
8 decreases are made every other round (the exception is the final round 40 which I will talk about later). 2 decreases are made at ¼ intervals to shape the square; i.e. the beginning and end of the triangular sections. You can see the square shape begin to form in the photo above. Also, if you look at the chart page in the pattern instructions, the triangle shape with decreasing stitches along each side is obvious.
If instead you were making 8 equally-spaced decreases, you’d get something like the circular bottom we made for Pretty Awesome Yarn Pouch.
Rounds Get Shorter and Shorter
One nice thing about the outside-in construction is that the number of stitches keeps decreasing, thus giving you added motivation to knit “just one more round”!
As the number of stitches become fewer, you may need to switch to a shorter length circular needle or to double point needles, or to re-arrange for some other method of knitting circularly.
I used a 24″ circular needle to start, then changed to a 16″ circular (shown in the photo just above), then to a set of 5 double point needles.

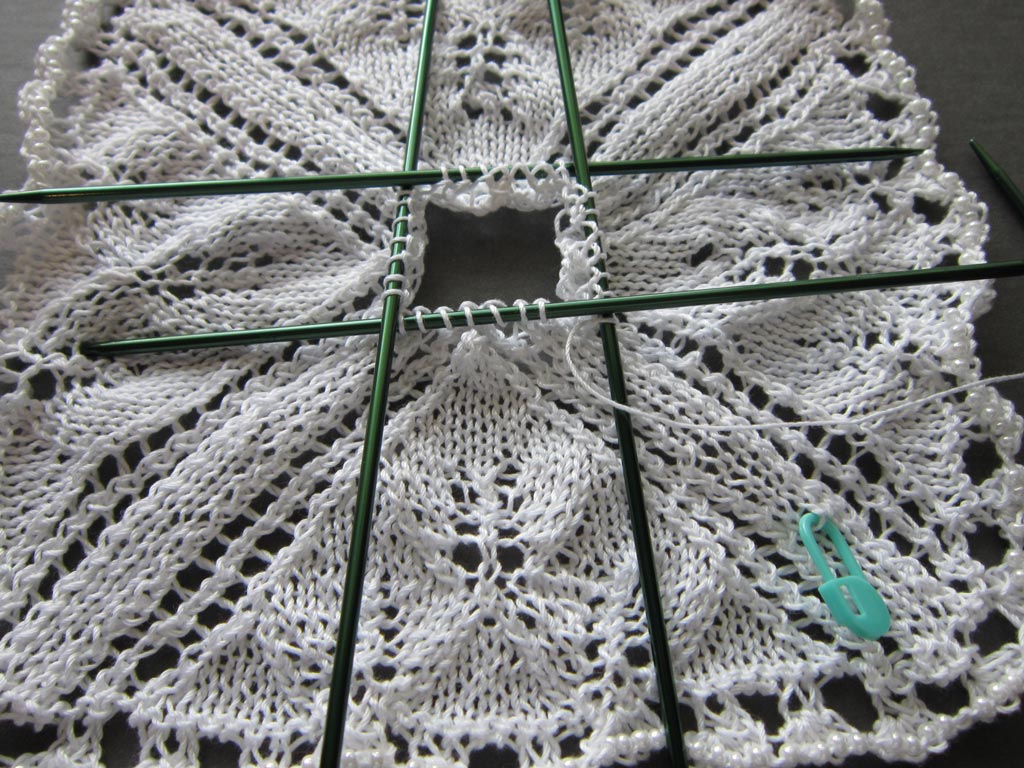
arranged on 4 double point needles
To use double point needles, just put all the stitches of a section on each of 4 needles. Then knit with the 5th needle. If you are not used to double point needles, it can seem awkward at first. But like all things, it does get better with practice.
arranged on 4 double point needles closeup; note the positions of the needles and the eor marker
Since the stitches of each pattern multiple section is on its own double point needle, markers between sections is not needed. But do remember to mark the beginning/end of round in some way.
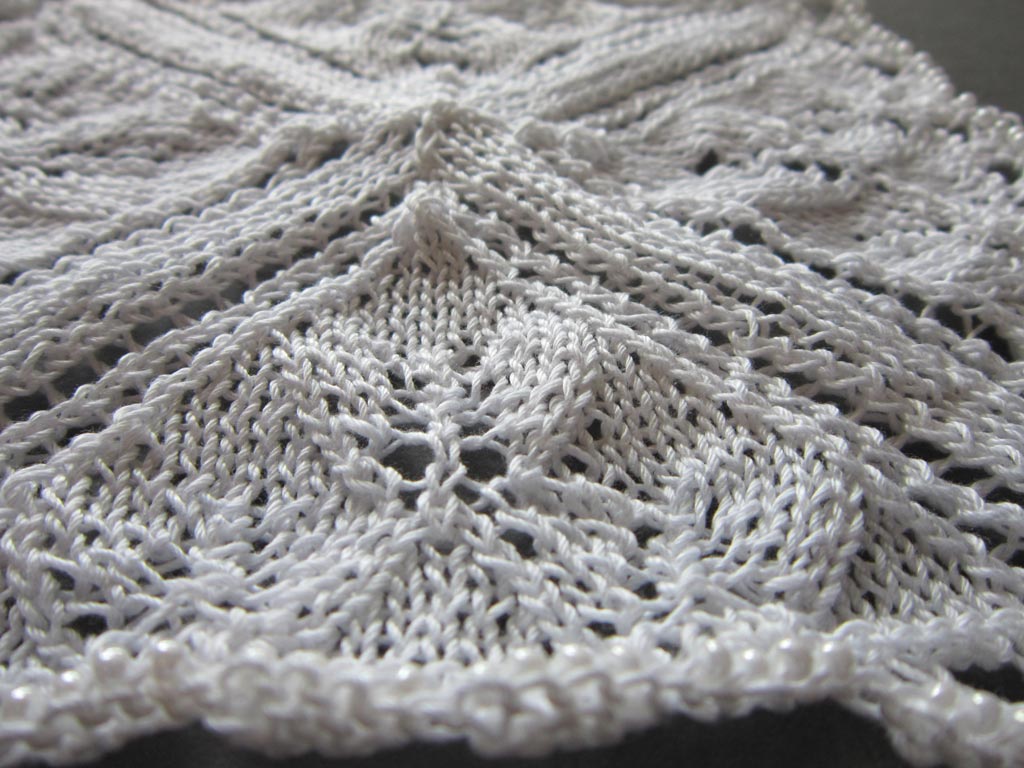
approaching the center point
If you abhor the thought of double point needles, there are other circular knitting methods that can be used instead.
Re-arranging Stitches for Knitting on 2 Circular Needles
For this circular knitting method, you need 2 circular needles of the same size but not necessarily the same length.
Tip: Use different length needles, and even different colors if you have them, to make it easier to identify the set of needles to use when knitting with this method.
Setup Step: Arrange the stitches of sections 1 and 2 on one of the needles (the longer silver needle in below photo), and stitches of sections 3 and 4 on the other needle (the shorter green needle in the photo). Remember to keep a stitch marker between sections 1 and 2, and a stitch marker between section 3 and 4. Also, remember to mark the beginning/end of round in some way.
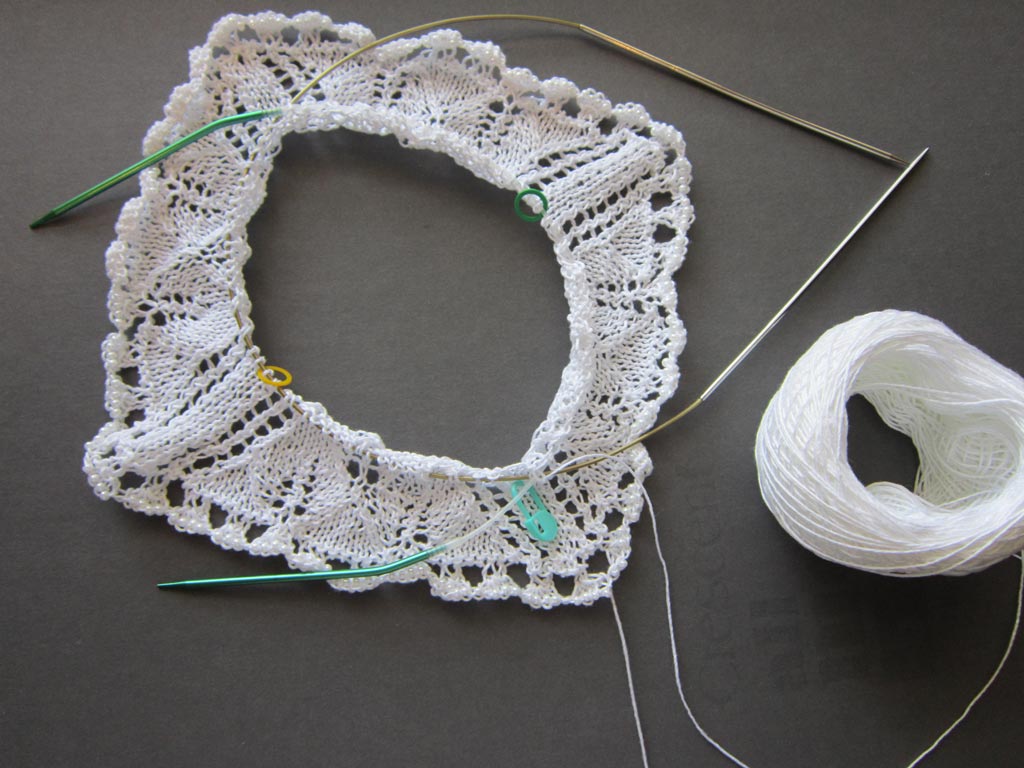
arranged on 2 circular needles of the same size, but of different lengths and colors
Step 1 for working a round: Work the first half of the round using one of the circular needles only (longer silver needle below), while ignoring the other needle.

Step 2 for working a round: After completing the first half of the round, now work the second half of the round using the other circular needle (and ignoring the first needle). 
Repeat Steps 1 and 2 for each round. That’s it! The hardest thing I have found with this method is grabbing the correct needle ends to work with. Thus, the tip about using different length needles and colors. At least that is what helps me, lol.
Re-arranging Stitches for Knitting on 1 Very Long Circular Needle
Another method for circular knitting is to use a single, very long needle (usually 36 – 40″) with stitches arranged between 2 loops in the flexible cable. This method was popularized under the name “magic loop”. I didn’t have a circular needle of this length in size US 2 used for the Tea-time Serviette project, so don’t have photos of this for you — sorry. (It might be just as well though because this article is already plenty long enough, lol). If interested, though, you can do a Google search to find many articles and videos with further information.
Closing in on the Last Few Stitches
Every other round of the Center Area is a plain knit “rest” round, other than the final round 40. This exception is intentional. By eliminating the intervening plain knit round before the final decrease round, this minimizes extra bulk at the center point where the stitches will be closed off.
The rationale is similar to the technique of using smaller needles for a center start of a center-out circular project.
To close off the final 4 stitches, you can use the woven closure we’ve covered before. A simple gathering will also work; just try to keep the closure as tidy as possible to keep alignment of the tips of the triangular sections coming together.
Next Steps
Nearly done! Finish the tail ends as described in the pattern.
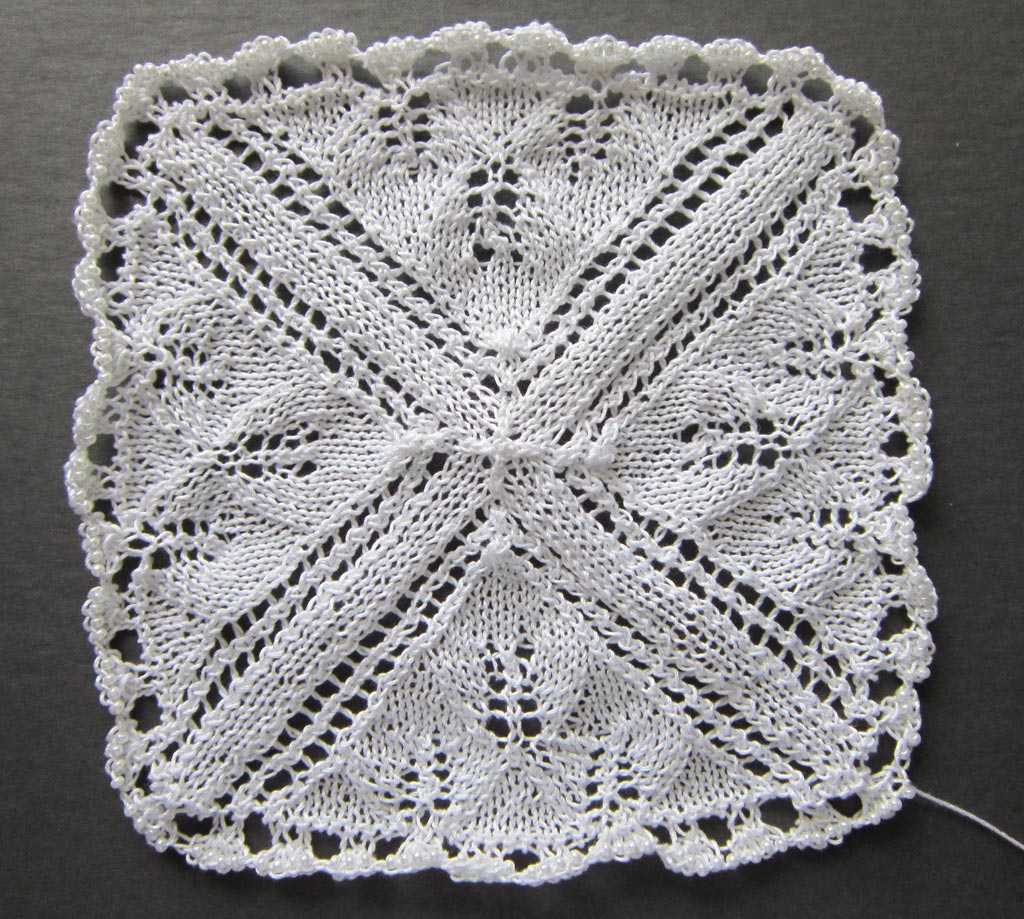
Most lace looks a bit messy until it is blocked. Even at this point, I am liking how this is looking. But I do know that a good soak and subsequent finger blocking will make the lace look even better.
If you are going to dye your lace, though, you’ll want to do that first. I’ll cover dyeing with tea in the next article.
center area completed

 HeartStrings FiberArts
 Knitting Bits of Lace on Facebook
 Ravelry Store