Use tension blocking with a blocking board inscribed with circular guidelines to enlarge the size as well as have more control in making the shape uniform.
If you plan the Pinwheel Flower for use as a face cloth or dish cloth, there really is no need to block unless you want to make it “pretty” – e.g. for gift giving. And then, a simple soak and finger blocking should suffice. After all, if you (or someone else) is going to use it on an on-going basis, you certainly won’t be doing a full blocking after every use!
But as a table-top doily you might want to do a tension blocking. With this, you can enlarge the size as well as have more control over making the shape uniform.
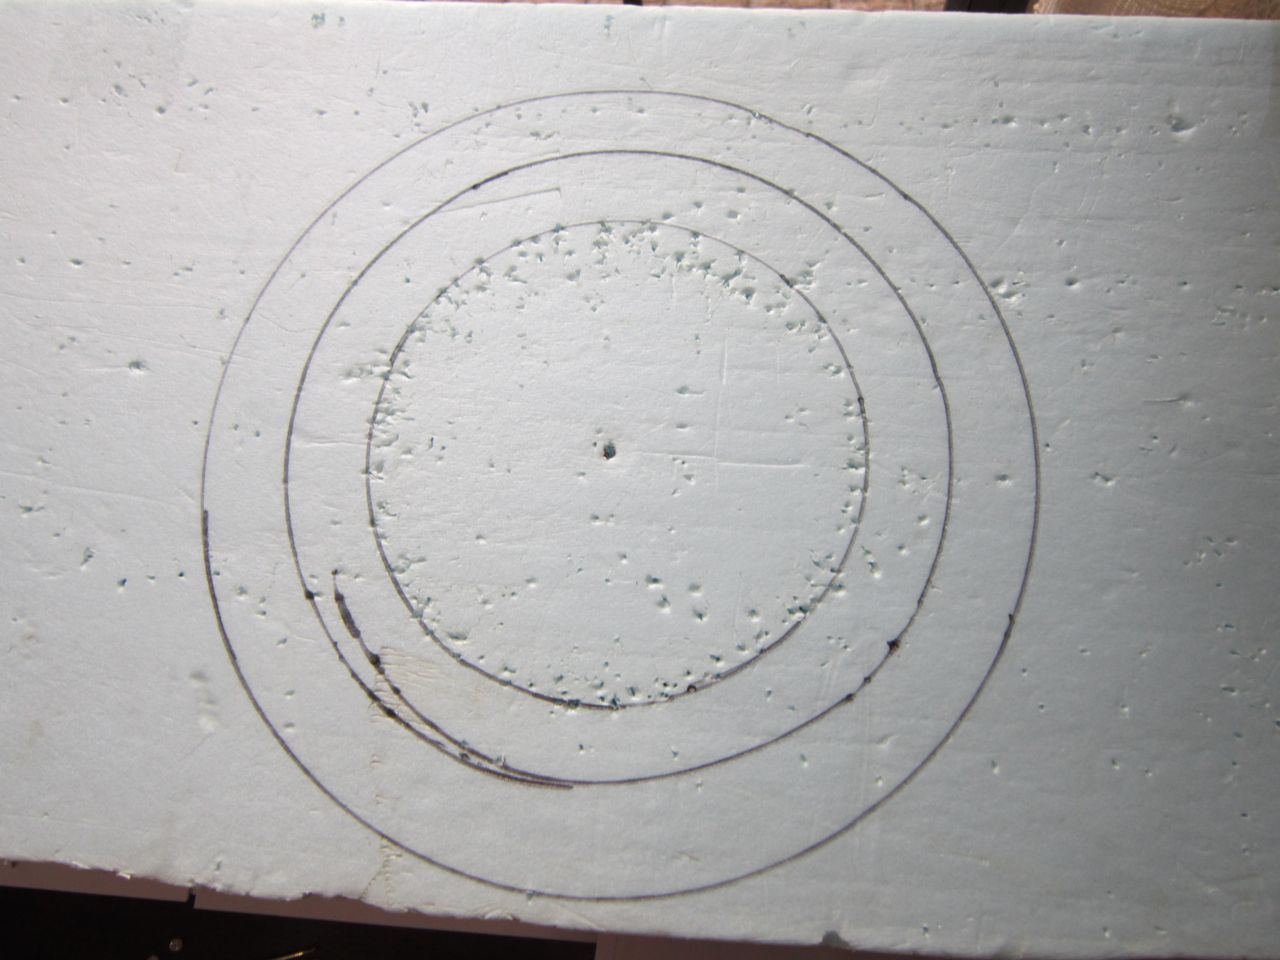
Do-It-Yourself Blocking Board with Circular Guidelines
I use a close-pored sheet of builders styrofoam. I marked the circular guidelines with permanent marker that would not bleed when wet (important!). As you can see, this board has been used a lot because of the previous holes, lol. (Note: in this photo, the circles look a bit lop-sided because of the angle of the camera – sorry)
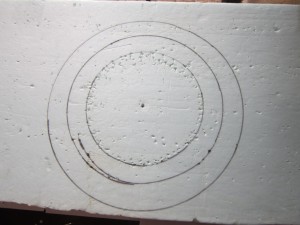
Styrofoam board for blocking
Thoroughly Soak before Blocking
For tension blocking, I always like to soak the article so that the fibers relax and give the best blocking results. (more on that at HeartStrings FiberArts site)
Then press out the majority of water and lay the doily out on the blocking board. Using your fingers, stretch the doily relatively evenly into a circle within the circular guidelines.

Preliminary stretching into a circle
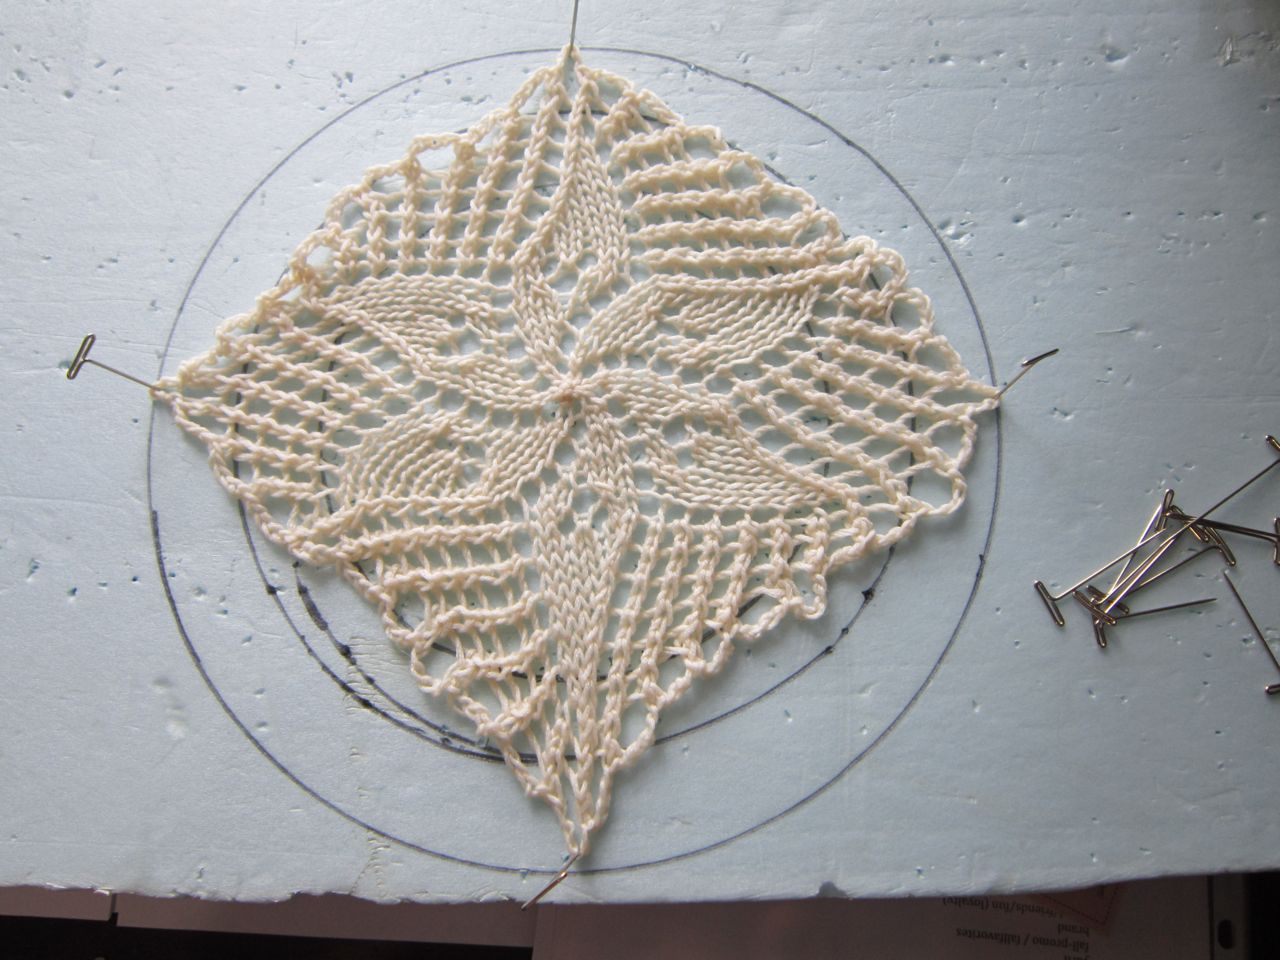
Stretch and Pin
Use stainless steel T-pins or other pins that will not rust. Stretch and pin out into 4ths as shown here. I place the pins so that they are inside the loop rather than going through the yarn/thread itself.
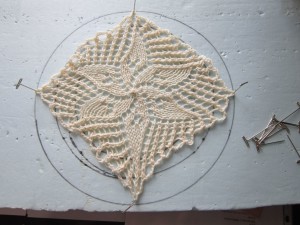
Pin out in 4ths
Then stretch and place a pin equidistant between each pair of previous pins so that the doily is now pinned out in 8ths as shown here.

Pin out into 8ths
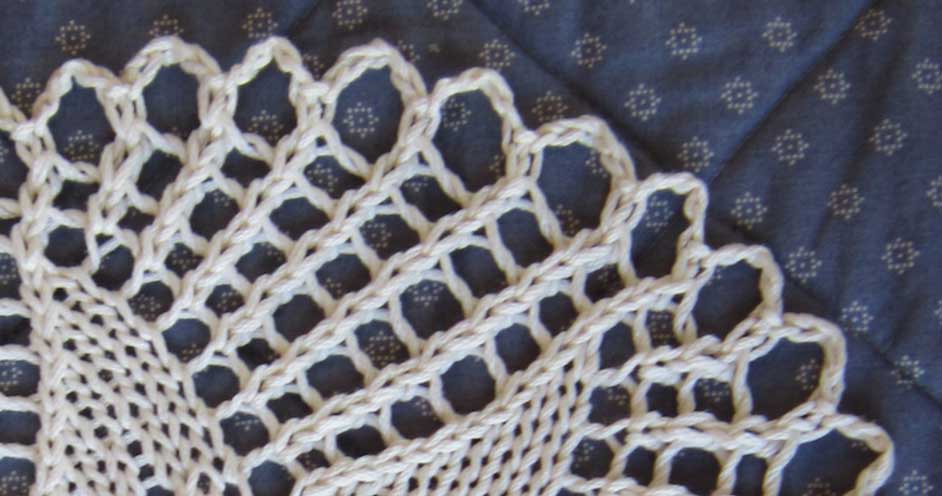
Then finally pin out the remaining loops along the outer perimeter.
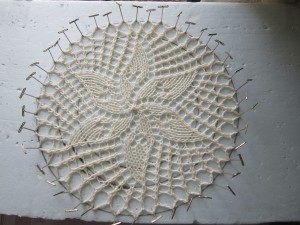
Pin out other loops
Let the doily thoroughly dry before removing the pins.
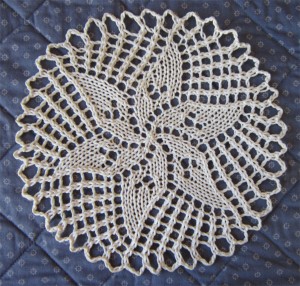
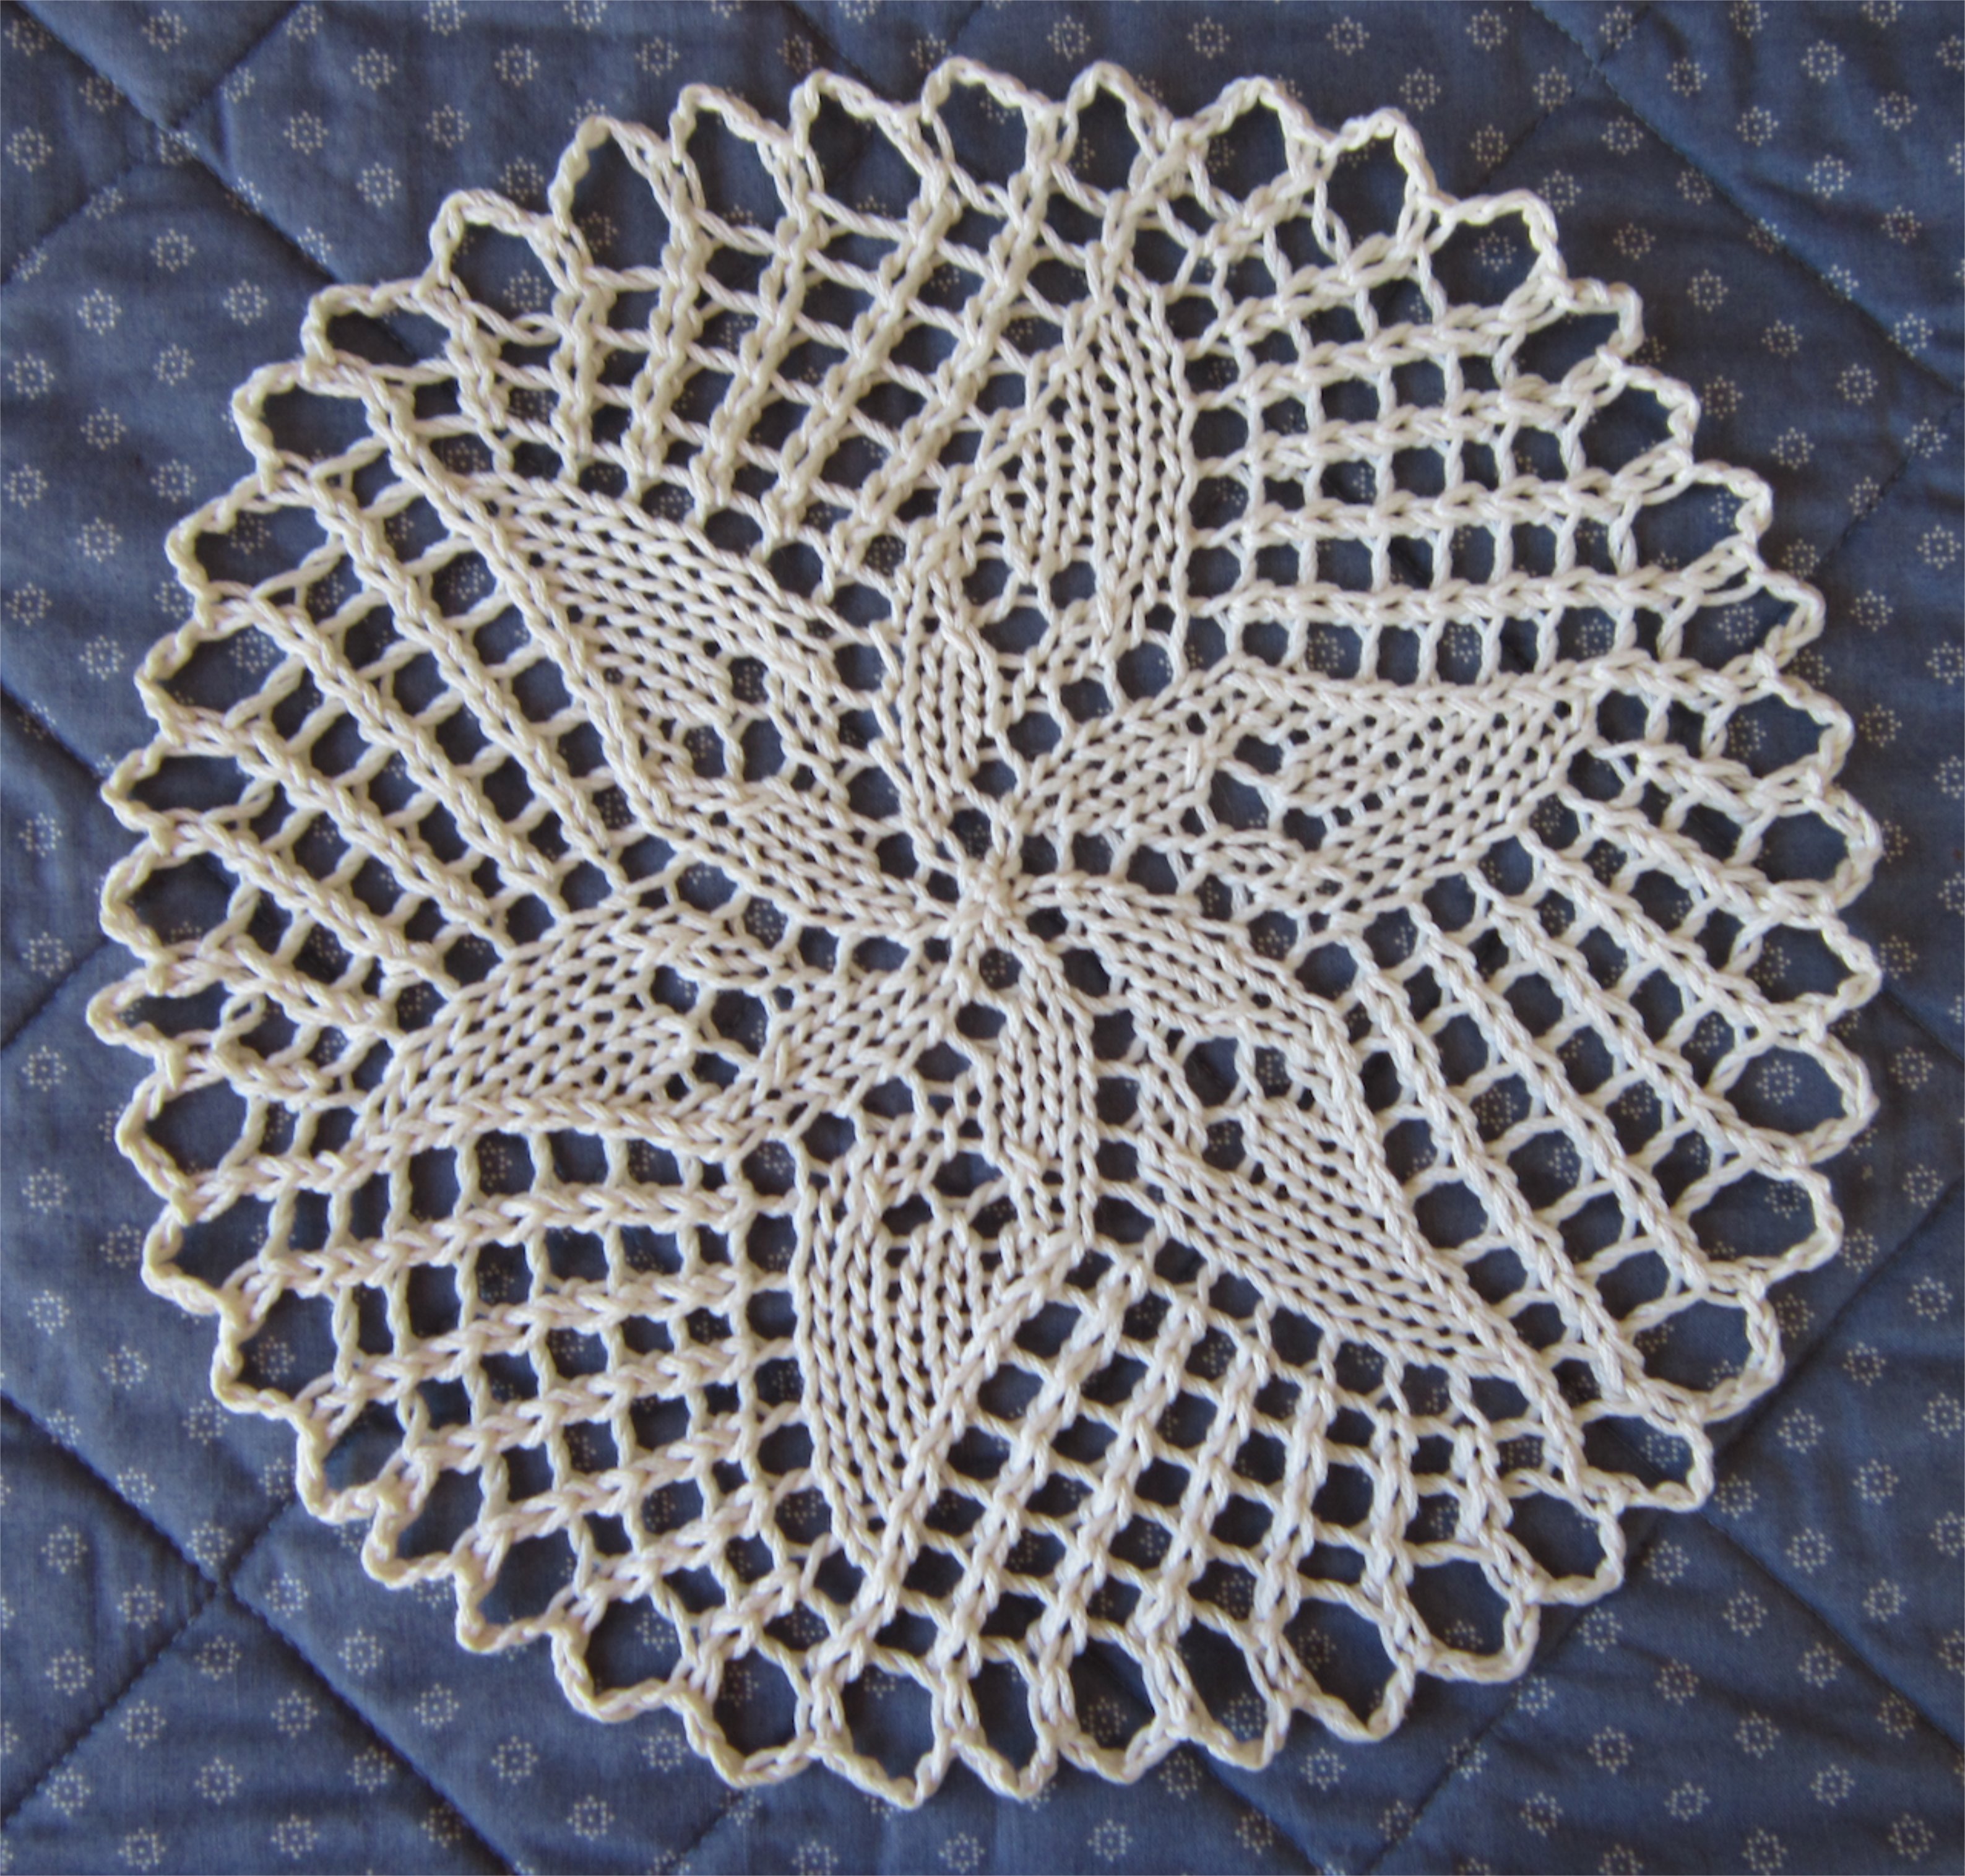
The blocked doily
Once blocked like this, I’ve found that even if the item is washed, it is easier to re-block in the future (sometimes even a simple finger blocking will suffice since the fibers seem to “remember” their places). That is good news, don’t you think? Even if you are giving as a gift, the item is likely to be enjoyed for a long time — even if it is “just for the sake of art”.
p.s. Have you taken the poll Does your knitting have to have a practical purpose?


 HeartStrings FiberArts
 Knitting Bits of Lace on Facebook
 Ravelry Store